As cryptocurrencies gain mainstream adoption, the importance of securing your digital assets cannot be overstated. Unlike funds stored in banks, cryptocurrencies are fully under your control—which also means you’re responsible for keeping them safe. That’s where Trezor Wallet, a leading hardware wallet developed by SatoshiLabs, comes in.
To ensure your device is set up correctly and securely, Trezor provides a dedicated official page: Trezor.io/Start. This is the go-to resource for new users to initialize their Trezor Wallet, download Trezor Suite, and start managing their crypto with peace of mind.
In this guide, we’ll walk through what Trezor.io/Start offers, the setup process, and why using the official page is essential for crypto security.
The internet is full of guides, but not all of them can be trusted. Fake websites and phishing attempts often target crypto users, trying to trick them into revealing sensitive information such as recovery phrases. By visiting Trezor.io/Start, you are guaranteed to receive the official and authentic setup instructions directly from Trezor.
This ensures:
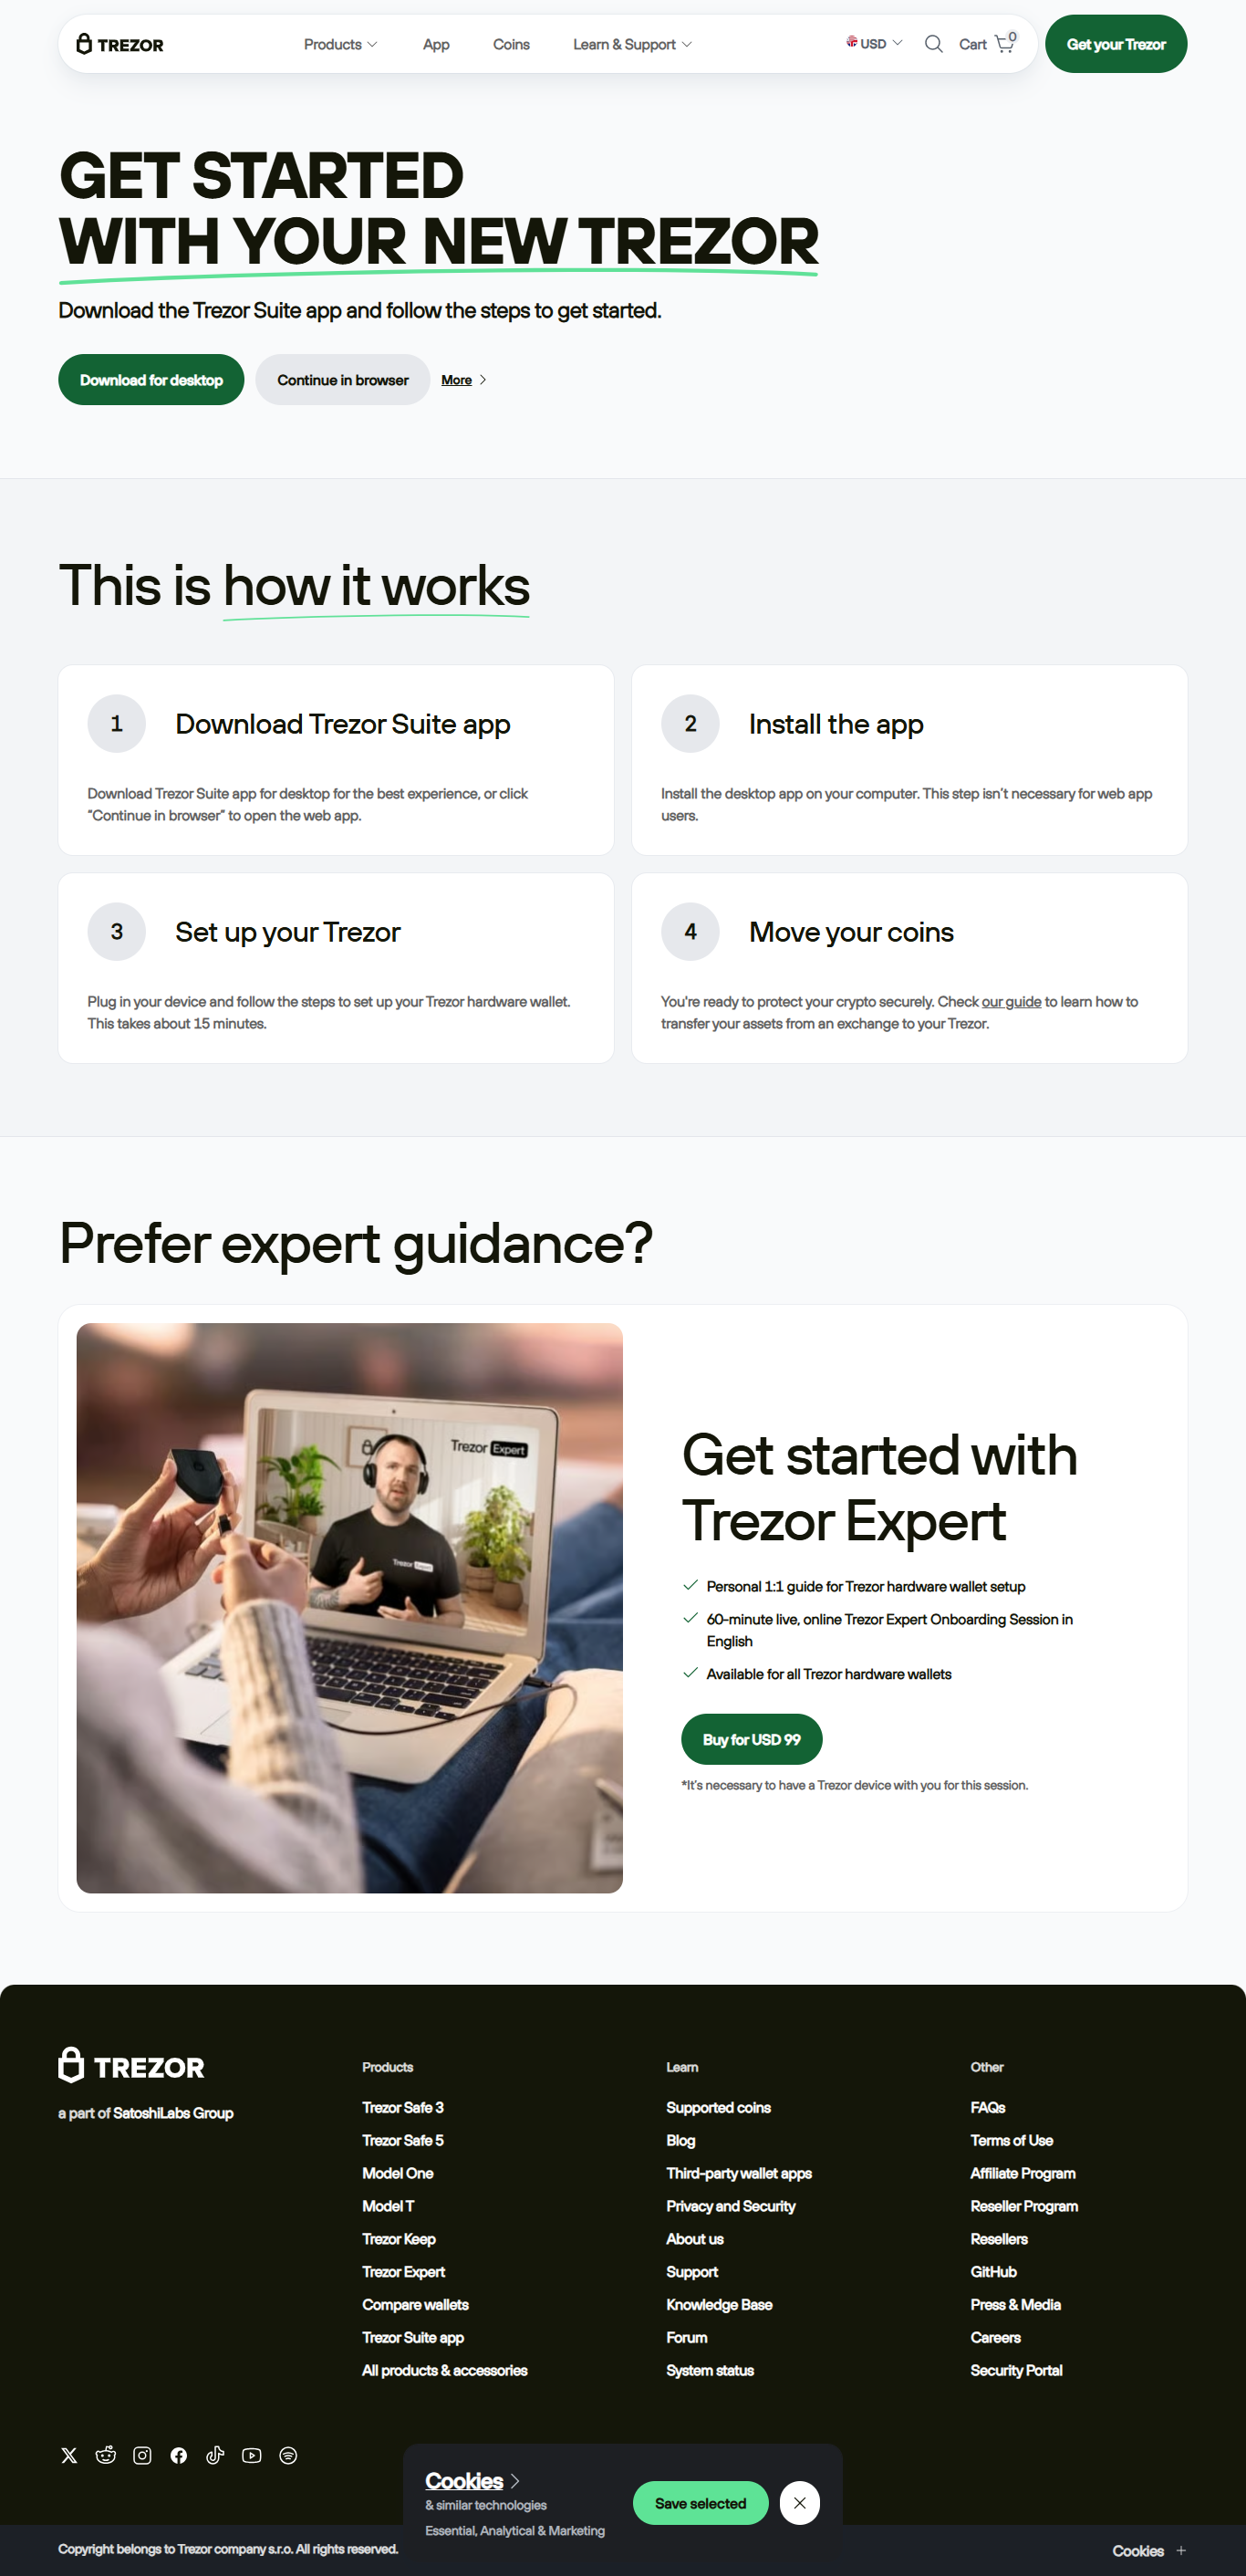
After purchasing your Trezor Model One or Model T (preferably from the official website to avoid counterfeits), head straight to Trezor.io/Start. The page provides a step-by-step guide to connecting your wallet via USB to your computer.
One of the first instructions at Trezor.io/Start is to download Trezor Suite, the official companion app for managing your crypto. Available for Windows, macOS, and Linux, Trezor Suite lets you:
By downloading directly from the official site, you ensure that the software you install is genuine and malware-free.
During setup, your Trezor Wallet will prompt you to create a PIN code, which acts as the first line of defense against unauthorized access. After that, you’ll be given a 12–24 word recovery phrase. This phrase is the most important part of your crypto security.
⚠️ Important: Write your recovery phrase on paper and store it in a safe offline location. Never share it with anyone, and never enter it online. Trezor will never ask for it outside the device itself.
Trezor.io/Start will guide you through checking and updating your device firmware. Keeping your firmware updated ensures you always have the latest security patches and compatibility with new cryptocurrencies.
Once your Trezor Wallet is set up, you can use Trezor Suite to add accounts for your preferred cryptocurrencies. Trezor supports more than 9,000 coins and tokens, including Bitcoin (BTC), Ethereum (ETH), Litecoin (LTC), and ERC-20 tokens.
Through Trezor Suite, you can:
Setting up your hardware wallet the right way is the foundation of crypto security. By visiting Trezor.io/Start, you get the official step-by-step guide to initialize your device, secure your recovery phrase, and start managing your assets safely.